
Rework drains profitability in metal fabrication. According to data from Lincoln Electric, a joint fit-up error of just 1/16-inch increases filler metal consumption by 50%. Tack welding solves this alignment issue at the source. These temporary welds lock components in place to maintain critical gap widths and control thermal distortion, ensuring the final pass meets specifications without costly corrections.
A proper tack weld is the foundation of a structural joint. This article covers the essentials: selecting the correct tack type, managing heat on different materials, and avoiding common defects. It also contrasts tacking with spot welding to help identify the best assembly method for your production line.
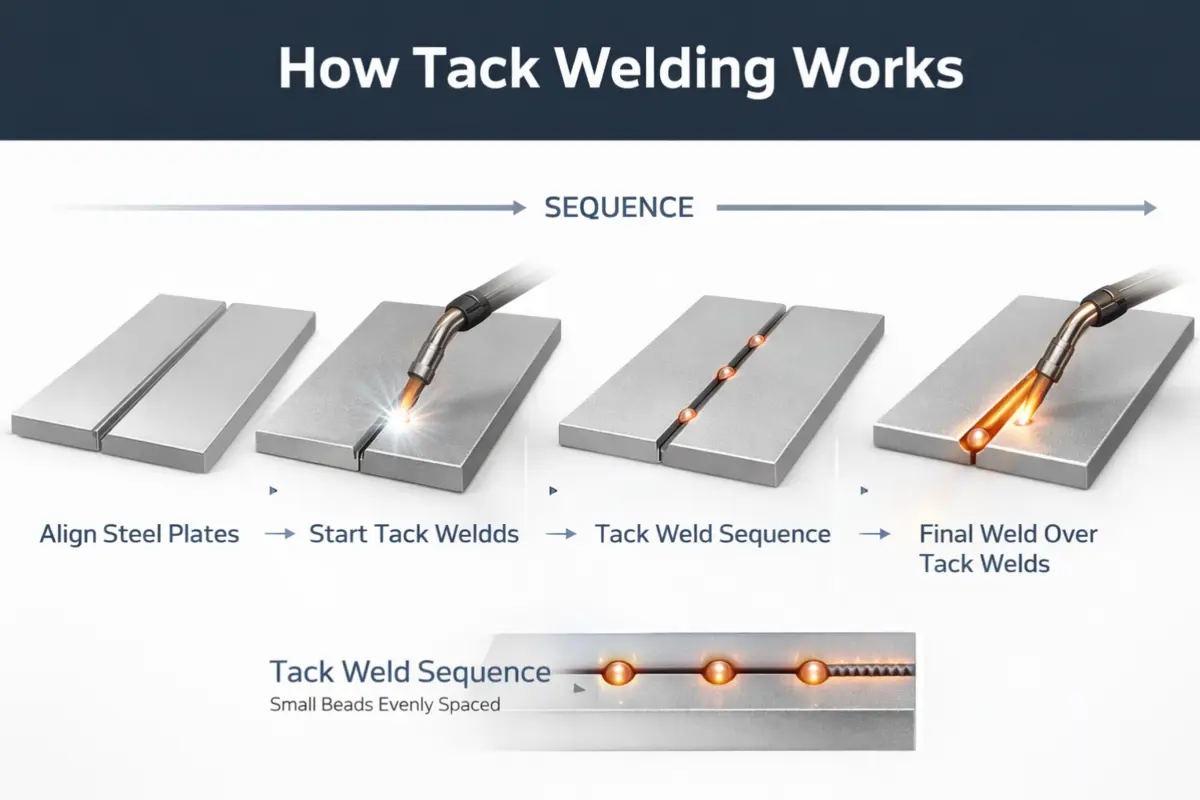
What Is Tack Welding and How Does It Work?
Tack welding is the process of aligning metal components using small, temporary beads. These spots act as fixtures to maintain critical root gaps and hold workpieces rigid. By securing the joint structure early, fabricators reduce reliance on cumbersome clamps and ensure the assembly stays square during the final weld.
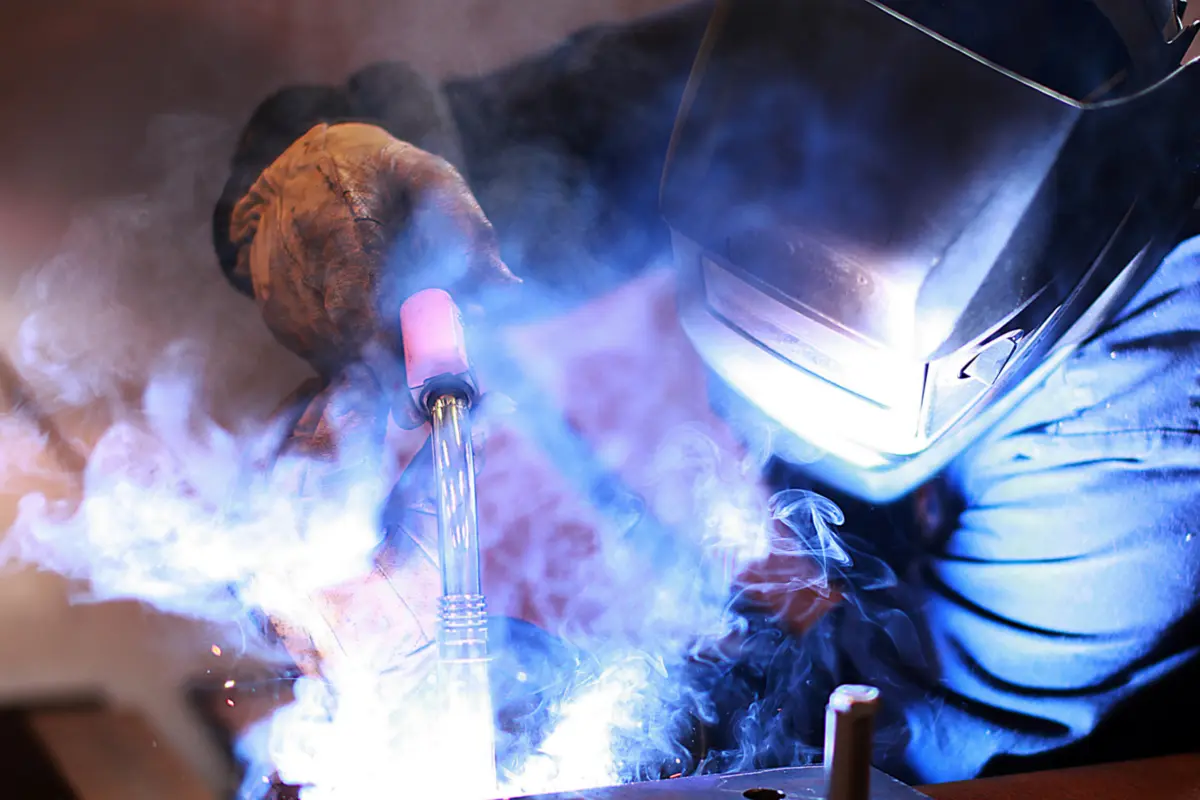
The process works by applying concentrated heat bursts to create instant, localized fusion. These isolated spots cool rapidly, forming a bond strong enough to resist the thermal expansion and mechanical stress that typically warp parts. Because the penetration is minimal, these temporary tacks can be easily feathered or removed if realignment is required.
What Are the Main Types of Tack Welding?
Choose the tack type based on actual fit-up conditions, not just the drawing. Wrong choices lead to blowouts on thin metal or weak bonds on thick plate. Matching the method to the gap width prevents distortion and ensures a square assembly.
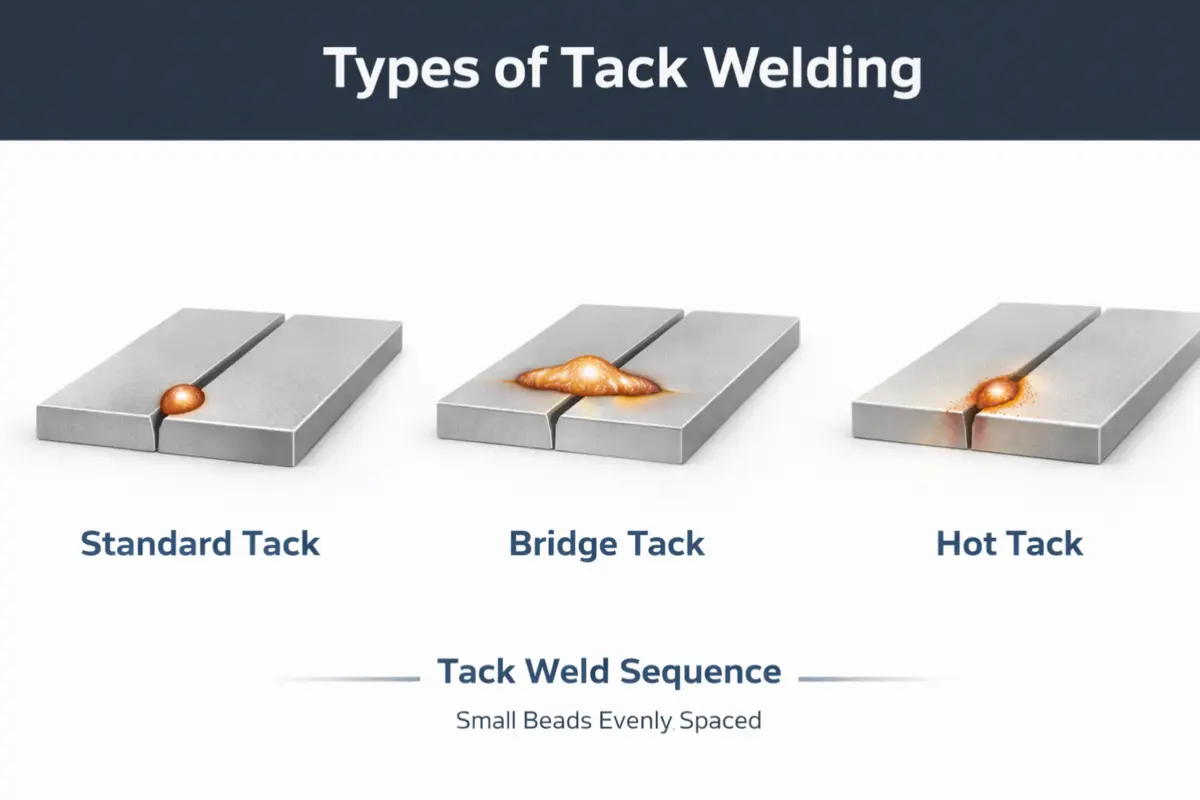
Standard Tack Weld
Use standard tacks for tight, perfectly aligned joints. These beads sit deep in the root to lock components rigidly. The final weld pass consumes them completely. When executed correctly, no removal is needed, streamlining the process.
Bridge Tack Weld
Bridge tacking is necessary when root gaps are too wide. This method spans the opening to connect edges instead of penetrating the root. It avoids burn-through on thin materials. This creates a solid foundation for the final weld to cross over.
Hot Tack Weld
Hot tacking forces stubborn gaps shut on thin, non-structural sheet metal. A high-amperage arc softens the edges to fuse the material instantly. However, this intense heat creates internal stress and raises crack risks. Avoid hot tacks on critical, fatigue, or low-temperature joints; if unavoidable, always feather and re-tack before the final pass.
What Materials Can Be Tack Welded?
Different metals react differently to heat. The welder must adapt settings to avoid cracks or distortion. Ignoring these thermal differences leads to costly scrap.
Mild Steel and Carbon Steel
Mild Steel is the most forgiving option. It resists thermal shock effectively. Standard settings work fine without complex pre-heating. If alignment fails, tacks are easy to grind out for a second attempt.
Stainless Steel
Stainless steel warps easily. It has lower thermal conductivity than carbon steel, causing heat to localize and expand the metal rapidly. Tacks must be small and frequent to lock the joint against distortion. Excessive heat destroys the metal’s corrosion resistance.
Aluminum
Aluminum requires high heat and speed. It dissipates heat rapidly away from the joint. The arc must be hot enough to penetrate the oxide layer instantly. Insufficient heat input results in ‘lack of fusion’ or cold laps, creating weak points that fail under stress.

Thin Sheet Metal
Thin sheet metal burns through instantly. The arc melts the edge immediately upon contact. Use short, controlled bursts to fuse materials. Any gap in the fit-up usually leads to a blown hole.
The Pros and Cons of Tack Welding
Tack welding acts as a stabilizer but carries inherent risks. Correct execution is key for dimensional accuracy. Poor technique introduces defects that fail final inspection.
Pros of Tack Welding
Correct application delivers immediate gains in both speed and structural control.
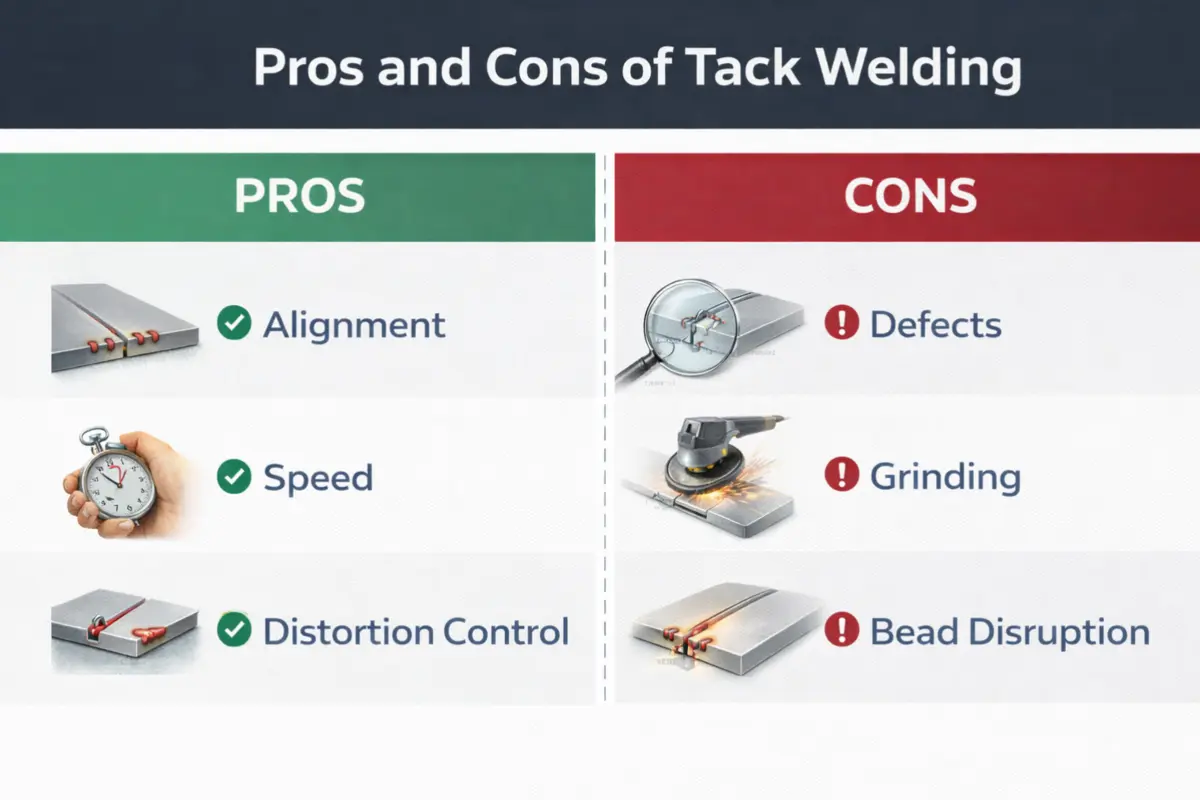
- Maintains Critical Alignment: Tacks replace bulky mechanical fixtures to keep root gaps consistent. This ensures the assembly stays square without clamps blocking access to the joint.
- Controls Thermal Distortion: Welding heat naturally pulls metal out of square. Strategically placed tacks force the material to resist this stress, preventing warping during the final high-heat pass.
- Accelerates Assembly Speed: Clamps take time to set up and adjust. Tacking secures parts instantly, allowing welders to verify dimensions immediately and move straight to the final weld.
Cons of Tack Welding
However, the rapid thermal cycle introduces specific metallurgical risks if ignored.
- Introduces Hidden Defects: Rapid cooling turns tacks into brittle hard spots. If not cleaned perfectly, these areas trap slag inside the final joint, creating internal structural weak points.
- Increases Grinding Labor: Oversized or sloppy tacks must be ground down before the final pass. If a tack breaks during handling, the welder must stop to clean and re-tack, killing production rhythm.
- Disrupts the Final Bead: A high-profile tack creates a physical obstacle. The final pass often fails to fuse over this “bump,” leading to lack of penetration or an uneven cosmetic finish.
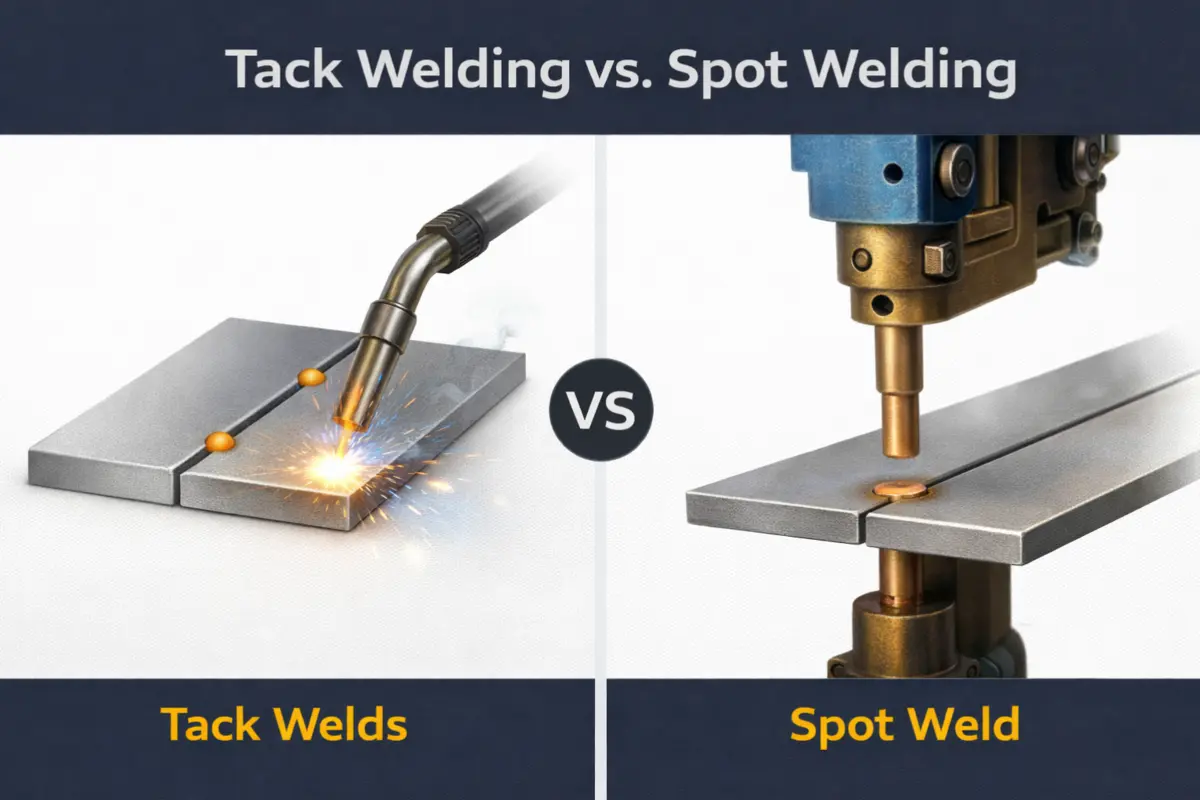
Tack Welding vs Spot Welding: What Is the Difference?
Tack welding is a temporary prep step; spot welding is a permanent assembly method. One aligns parts for the final weld; the other replaces rivets to lock sheet metal for good.
Resistance and Fusion Mechanism
Tack welding fuses metal with an electric arc. It adds filler wire to bridge gaps, leaving a bead on the surface.
Spot welding uses pressure and internal resistance. Copper jaws clamp the sheets and shoot high current through the stack. This melts the interface instantly without filler metal.
Temporary Fixation and Permanent Joint
Tack welds are disposable placeholders. They hold alignment only until the final weld takes over. Most are consumed by the final pass or ground off completely.
Spot welds are permanent bonds. Once the machine cycles, the joint is finished. It is the standard for high-volume assembly requiring no further processing.
Equipment and Consumables
Tacking uses standard shop gear. The welder grabs the same MIG or TIG torch used for the final weld. This allows access to any angle or position.
Spot welding demands dedicated hardware. Stationary presses or tong guns apply the force. While fast, the machine’s throat depth limits reach to edges or open areas.
Tack Welding vs Spot Welding Comparison Table
Production speed hinges on choosing the right joining method. The table below contrasts the key operational differences to help you match the technique to the project.
| Aspect | Tack Welding | Spot Welding |
| Function | Temporary alignment (Fixturing) | Permanent assembly (Joining) |
| Mechanism | Electric Arc (Fusion) | Resistance + Pressure |
| Filler Metal | Added (Wire/Rod) | None (Autogenous) |
| Equipment | Standard MIG/TIG Torch | Resistance Spot Welder |
| Best For | Structural steel, pipe, plate | Sheet metal enclosures, brackets |
The right technique prevents structural failure. We apply the precise method needed for every joint in our sheet metal fabrication services.
When to Use Tack Welding?
Tacking is mandatory whenever mechanical clamping alone cannot guarantee dimensional stability. Because welding heat inevitably induces movement, tacks act as sacrificial anchors to prevent the assembly from shifting or warping during the high-heat final pass.
Controlling Distortion on Long Seams
Stop the scissors effect on long runs. Welding heat pulls edges together and closes the gap ahead of the torch. Frequent tacks force the joint to stay open and consistent.
Holding Parts During Multi-Piece Assembly
Clamps often fail on complex geometries. They block the torch or slip on angles. Tacks allow you to build a self-supporting skeleton. This lets you verify dimensions before committing to the final permanent welds.
Setting Root Gap for Pipe Welding
Full penetration depends on a precise open root. Without support, the gap shrinks as the weld metal contracts. Tack welds act as solid spacers to maintain the specific distance required for the root pass.
Temporary Positioning for Heavy Fabrications
Cranes hold the weight. Tacks hold the position. Once strong tacks are placed, operators can release the lifting gear safely. This frees up the crane and lets the welder work without the load swinging.
FAQ
How Large Should a Tack Weld Be?
Never exceed the metal’s thickness. A tack should be strong enough to hold but small enough to consume. Bloated tacks create “speed bumps” that disrupt the final bead and cause lack of fusion.
Do Tack Welds Need to Be Removed?
Only if they are defective. A quality tack melts seamlessly into the final weld. However, if the tack is high-profile, cracked, or cratered, you must grind (feather) it flat to ensure the final pass fuses over it.
How Far Apart Should Tack Welds Be Placed?
Space tacks about 1–6 inches apart, but the exact distance depends on material thickness, joint restraint, and heat input (process and settings). Thin sheet needs tacks every 1–2 inches to fight warping in sheet metal for automation assemblies. Thick plates remain stable with 4–6 inch gaps. If tacks are too far apart, the joint will close up ahead of the weld.
How Do I Prevent Warpage When Welding Sheet Metal?
Use short stitch welds, alternate your weld sequence, and place frequent tacks to spread heat evenly. For more information, see Welding Sheet Metal: How to Prevent Warpage.
Conclusion
Success depends on matching the right tack method to the material. No amount of welding skill can salvage a poor fit-up. Tack welding acts as the decisive checkpoint for structural integrity; if executed poorly, the entire assembly fails. At Rollyu, strict alignment protocols ensure every project meets specifications before the final pass begins.